One of the first things that should be done on a new IronPort Email Security Appliance (ESA) is configuring LDAP authentication to Active Directory.
0) create an AD account to be used for LDAP authentication (think of it like a service account, it needs to special rights)
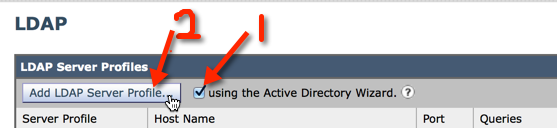
1) Open your Cisco IronPort ESA web management and click System Administration > LDAP

2) Check ‘Using Active Directory Wizard’ and click ‘Add LDAP Server Profile’
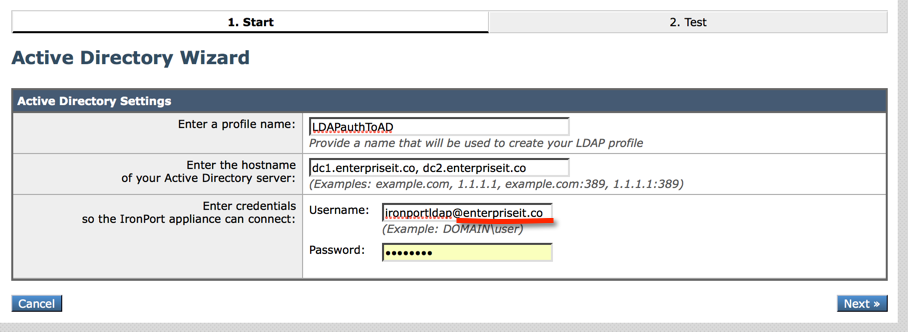
3)
-Enter a name for the profile you can call it whatever you want.
-Enter the hostnames or IP addresses of Domain Controllers that accessible by the IronPort
-Enter the FQDN of the ironport LDAP account you created in step 0 along with the password and click Next.
Note: I recommend you enter the username per the example with @addomainname appended to the username. I’ve found that if the username isn’t entered in this specific way the LDAP test will fail.
4) Next you can test querying against both valid and invalid email addresses in your organization. After you are done testing, click Finish.

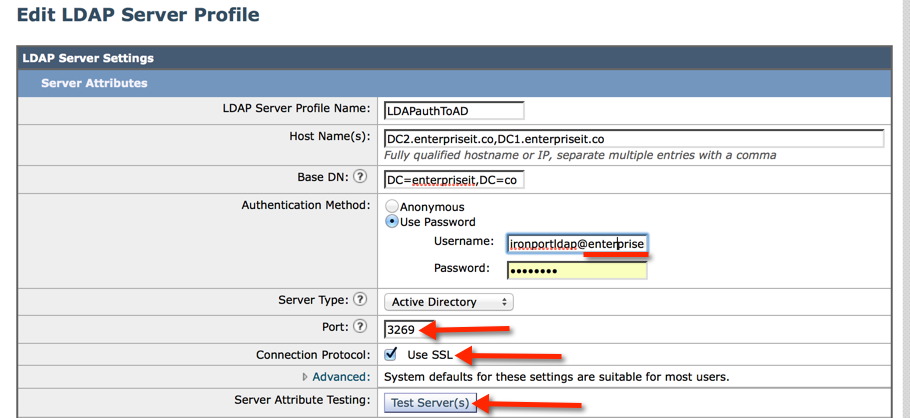
5) I recommend you enable SSL on the LDAP traffic:
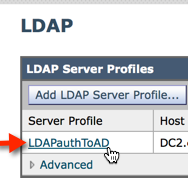
-Click to open the LDAP profile you created in the previous steps
-Change the port to 3269
-Check “Use SSL”
-You may need to re-enter the username and password for your LDAP Auth account (remember append @addomainname).
-Click Test Servers to confirm everything works
6) Click ‘Submit’ at the bottom of the page and then commit your changes
Next, I recommend you install an SSL certificate on the IronPort which will be used by SMTP, TLS and the quarantine web interface.