Issue: You need to create a certificate request as part of the process in obtaining an SSL certificate
Solution: Follow the steps below to create your CSR and submit to your Certificate Authority.
- If you haven’t already, you need to purchase an SSL certificate credit from your Third Party Certificate Authority (like GoDaddy, Geotrust, or Comodo).
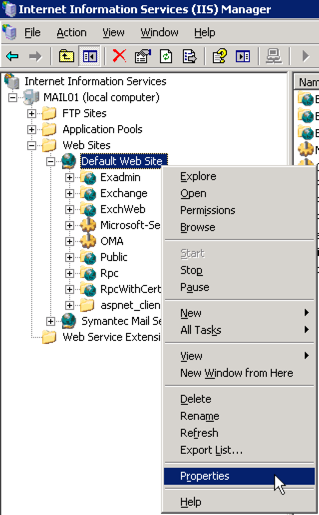
- Open IIS Manager, expand Web Sites, right click Default Website, click properties.
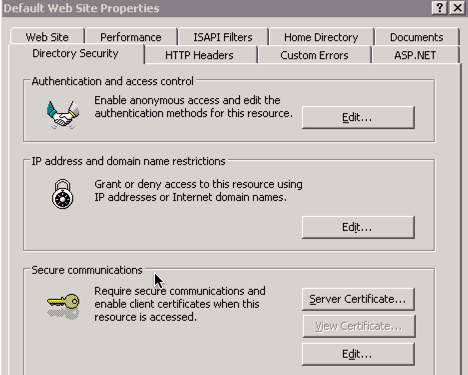
- Click Directory Security > Server Certificates
- Click next on the Web Server Certificate Wizard:
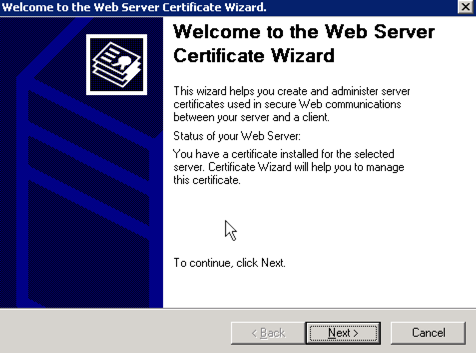 ‘
‘ - Select “Create new Certificate”
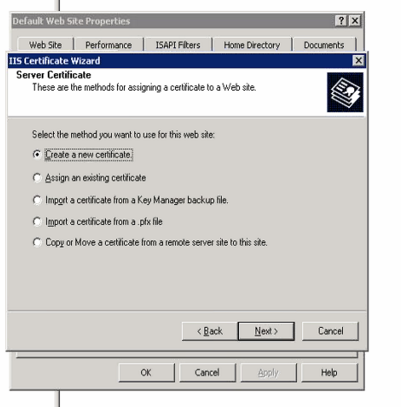
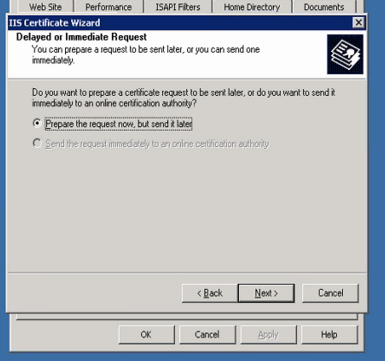
- Select “Prepare the certificate request now, but send it later”:
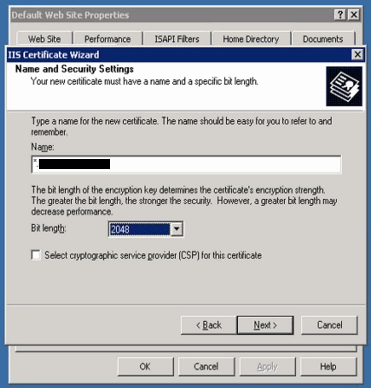
- Enter the name for your certificate, this is the hostname that the cert will encrypt traffic on, often then URL of your website:
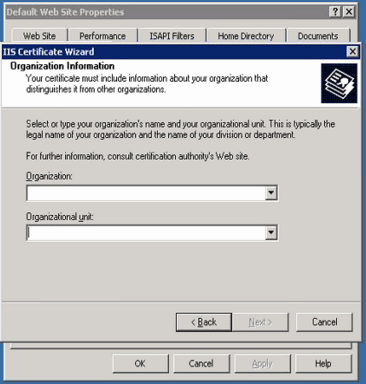
- In the Organization field, put your official company name. For organization unit, I generally put “IT”:
- Enter the “Common Name”, this must be the hostname that the cert will encrypt traffic on, often the hostname section of the URL of your website or server:

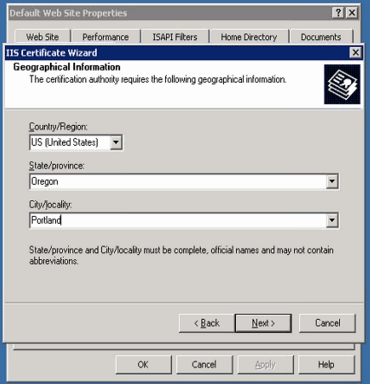
- Enter the City / State of your organization:
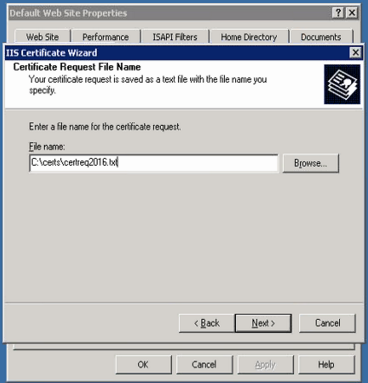
- Enter the location and filename for the certificate request file that you will create:
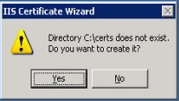
- Click yes to create the C:\certs directory:
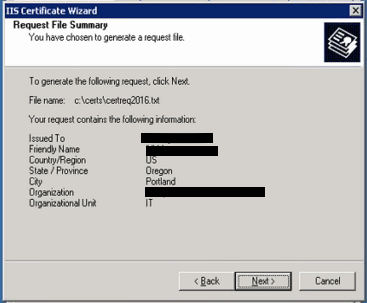
- Click next on the Request File Summary:
- Click Finish on the Completing Web Server Certificate Wizard:
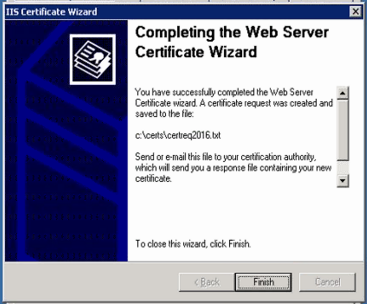
- Your certificate request is now generated and is in the file c:\certs\certreq2016.txt. Open this file and copy/paste the contents into the CSR field on the website of the third party SSL certificate that you purchased. Once your CSR is submitted to your Certificate Authority (CA) you can proceed to the next step.
- Your certificate authority will require verification steps be performed before they issue the certificate. This generally entails checking the email of the email address listed in your domain’s WHOIS information and looking for an email from your certificate authority and clicking the verification link in that email.
- Download the certificate from your certificate authority, or in some cases the CA may email you the completed certificate.
- Next you will need to process the pending certificate request and install the ssl certificate (follow link for steps).
Thanks for explaining clearly Chris.